
An Easy Method for Installing Urdu Fonts on Apple macOS
Learn the simplest method to install Urdu fonts on your macOS device. Follow our easy guide to enhance your Urdu typing experience.

How can you install and configure Urdu fonts in MS Word? Let's get more information about it.
Quick Tutorial for Adding Urdu Fonts to macOS
Learn how to easily install and use Urdu fonts on your macOS with this quick tutorial. Follow the step-by-step guide and enhance your typing and design experience in Urdu.
Download Urdu Fonts
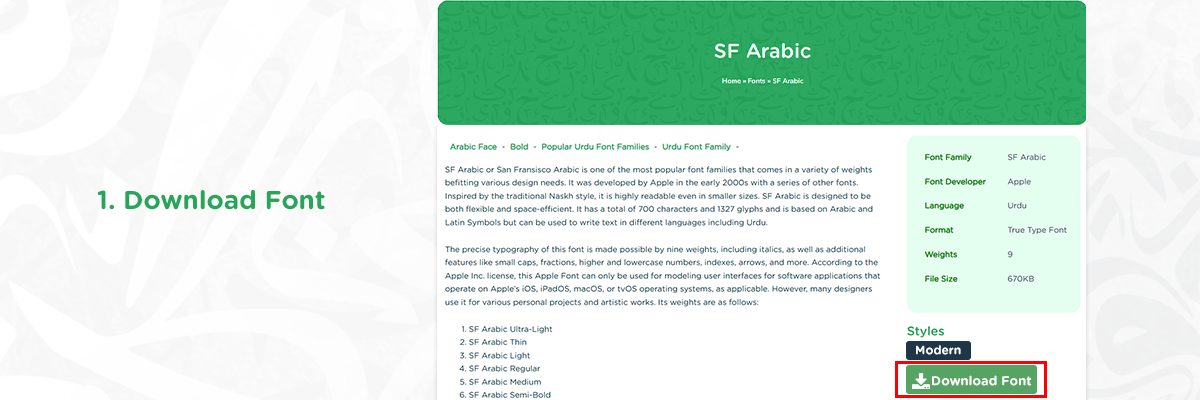
- There are many websites where you can download free Urdu fonts, such as urdufonts.com.
- Pick an Urdu font that suits your needs.
- Click the download button and save the font file to your Mac.
Unzip the Font
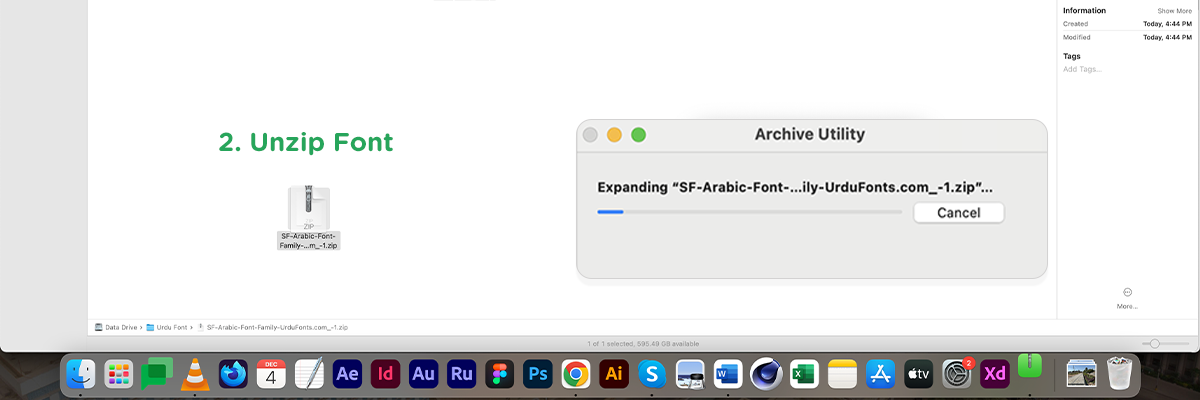
Right-click Urdu font file to unzip. You will get the .ttf or .otf font files.
Install the Font
1. Open Font Book:
- Go to Applications of your mac.
- Search for Font Book. This is where macOS manages all your fonts.
2. Add the Font:
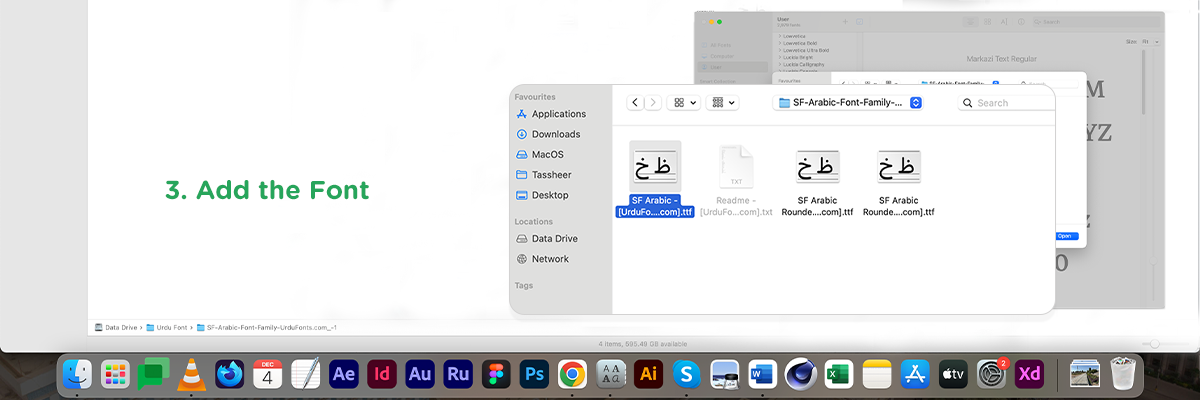
In the Font Book app, go to File and then Add Fonts, or simply drag and drop the Urdu font file into the Font Book window.
3. Confirm Installation:
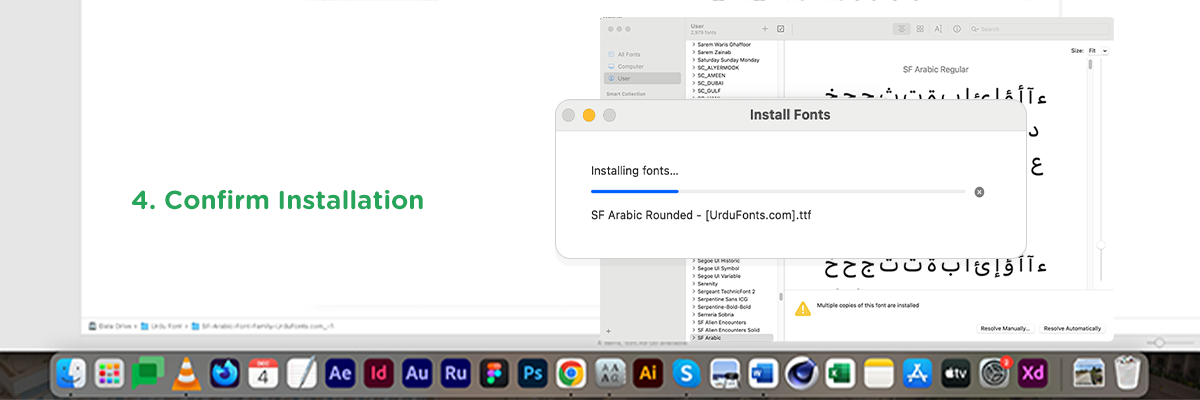
The font will be installed and appear in the list within Font Book. You can now use it across your system.
Font is Available for Use

- Open any application in which you want to use Urdu fonts.
- Select the installed Urdu font from the font menu and start typing in Urdu.
Bottom Line
Adding Urdu fonts to your macOS is a straightforward process. It opens up new ways to stylize your Urdu texts. For whatever purpose you want, having the right Urdu fonts installed makes all the difference. By following the steps, we discussed above in this guide, you can easily set up your Mac for a beautiful Urdu typing experience.


