UrduFonts.com is the largest online repository, which provides high-quality Urdu fonts. Each font in our collection is a carefully selected, tested and made available for free.
UrduFonts.com is the largest online repository, which provides high-quality Urdu fonts. Each font in our collection is a carefully selected, tested and made available for free.
Adobe Illustrator is a powerful tool for creating vector graphics, illustrations, and designs. While it’s commonly used for English text, many designers may not realize that it also supports typing in languages like Urdu. However, some designers may overlook its capability to accommodate languages like Urdu. While it offers a seamless experience for English text, enabling support for languages such as Urdu, Arabic, and Persian requires specific settings and installing a relative keyboard to directly type in it. This can pose a challenge for designers, particularly those from Middle Eastern and South Asian countries.
The countries where you can’t imagine achieving your artistic endeavors without using such scripts. By default, these options may not be activated in Adobe Illustrator, so manual configuration is needed to enable typing in Urdu and other languages when you are designing something on it. Hence, to experience the full potential of Illustrator for Urdu typography, designers must set up a few things to create projects, tailored to their linguistic needs. Here, in this comprehensive guide, we’ll go through every step that will enable you to type Urdu directly into the software effortlessly and you would not have the need of any third-party software further for your designing needs.
Just like Photoshop, Adobe Illustrator also does not come equipped with a built-in Urdu keyboard. Therefore, you cannot just directly type into it and create multilinguistic projects, including Urdu. To deal with this conundrum, various vendors offer online typing tools. However, if you want to make your software able to type Urdu directly without leaving the house, you can simply install an Urdu keyboard to your system. This will allow you to type Urdu not only in Illustrator but also in various other similar software that do not support it. Moreover, read more about Understanding the Primary Categories of Urdu Fonts .
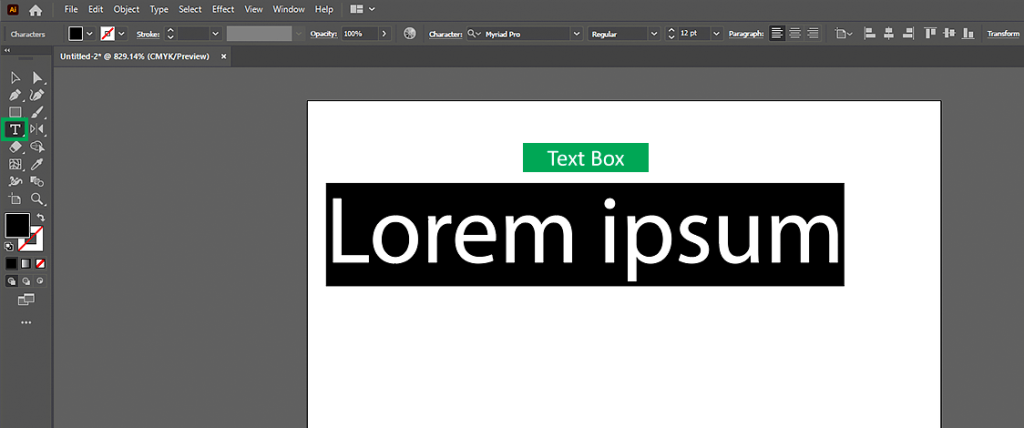
You can type your desired text and create your design projects easily once you’ve downloaded and installed the keyboard successfully. Moreover, you can also write or type Urdu with some 3rd party software, read our guide to learn about 5 Best Urdu Typing Softwares. Here’s a few steps on how to do it:
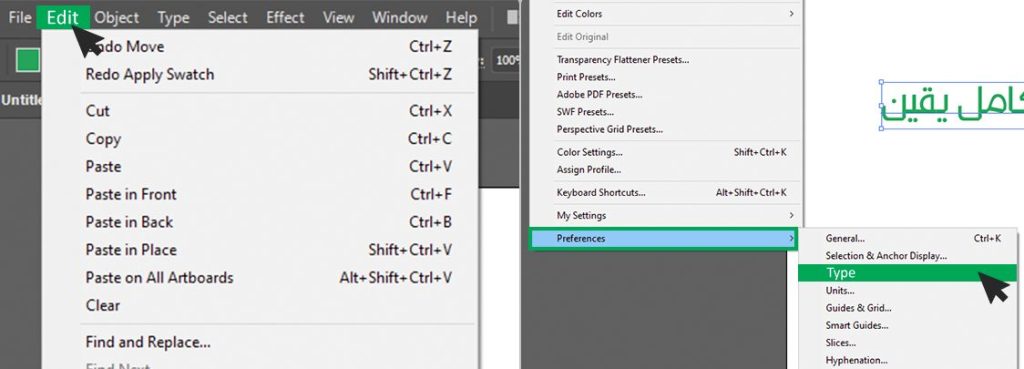
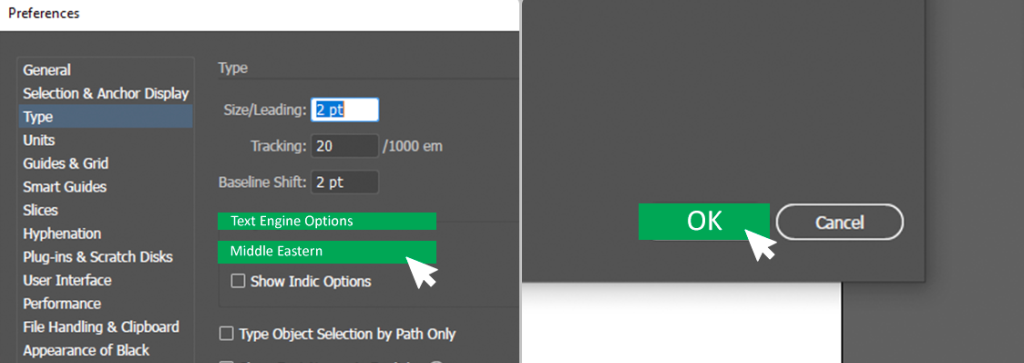
So far, we have learned how to install the Urdu Keyboard on your system and how to make use of it. The writing part is done. However, the tool provides additional tweaking options to further glorify or beautify your text appearance. Here, we have mentioned some of them that will help you achieve perfection in your design project by adding luster to your Urdu text. Moreover, you can also check our guide on How to type Urdu in Adobe Photoshop for better understanding.
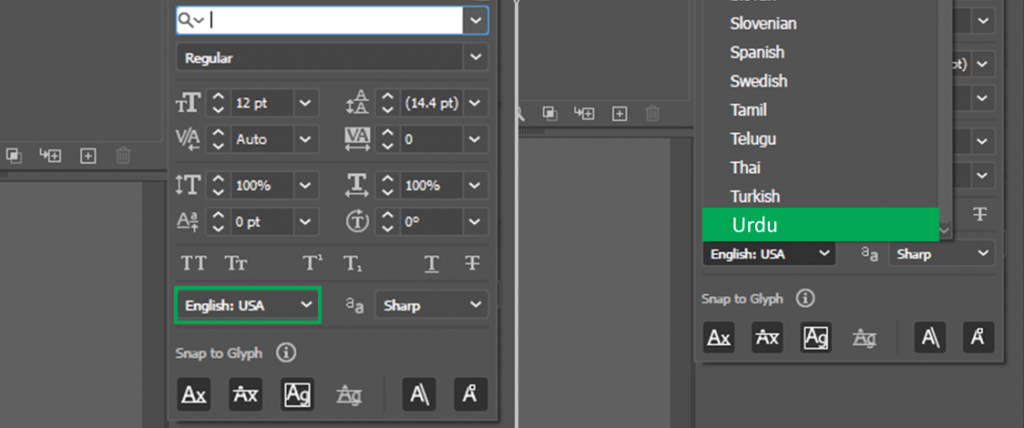
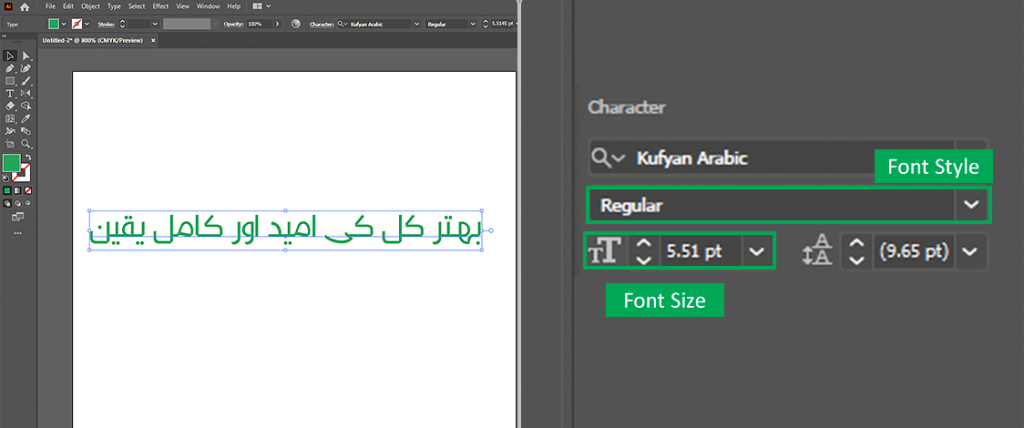
Once you have your Urdu text in Illustrator, access the "Character" panel (Window > Character). This panel grants you control over individual characters:

Urdu script often necessitates adjustments in spacing between characters for optimal readability. The "Character" panel offers options for Kerning (adjusting space between individual pairs) and tracking (adjusting overall letter spacing).
You should always experiment with the vast array of text effects available in the adobe Illustrator. Some of them include drop shadows, inner shadows, and angles, to elevate the visual appeal of your Urdu text and designs.
Regularly preview your text within your design layout to guarantee proper alignment, size, and overall visual impact. Make necessary adjustments to the text or surrounding elements for a cohesive and aesthetically pleasing outcome.
By default, Illustrator reads text from left to right. To change that, there are 2 basic steps, which are as follow.
Adobe Illustrator is undoubtedly an efficient tool for professionals as well as beginners the same way, to achieve the creative imprint they desire. While the option to directly type Urdu and other Middle Eastern languages might not be available initially, the above-mentioned process and tips will provide you with a way to overcome that problem. With that, now you can create your multilinguistic projects smoothly in either the format or language your design needs. Thus, breaking the linguistic bounds and letting your artistic instincts flow and go wild.

Dedicated Urdu Fonts contributor sharing expertise in typography, font installation, design assets, and language technology trends.
Compatible with most of the software which are of mobile, desktop and websites.
